Gradient glitter nails in 4 easy steps
- Category: DIY beauty, Nails
- Reply to post
I don’t know if it’s the holiday season or what, but lately I’ve been into glitter nails, especially when tastefully done in a gradient style.
This is actually very very easy to do, so here’s quick tutorial for you.
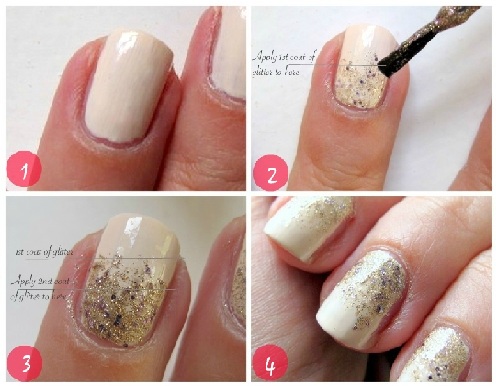
Gradient glitter nails in 4 easy steps
- Apply 2 coats of your base colour and wait to dry – I used Lime Crime nail polish in Milky Way
- Apply a sheer coat of your glitter half way up the nail and wait to dry – I used Sally Hansen Gem Crush nail polish in Big Money
- Apply another coat of glitter half way up the first coat
- Finish with a top coat – I used China Glaze No-Chip Top Coat
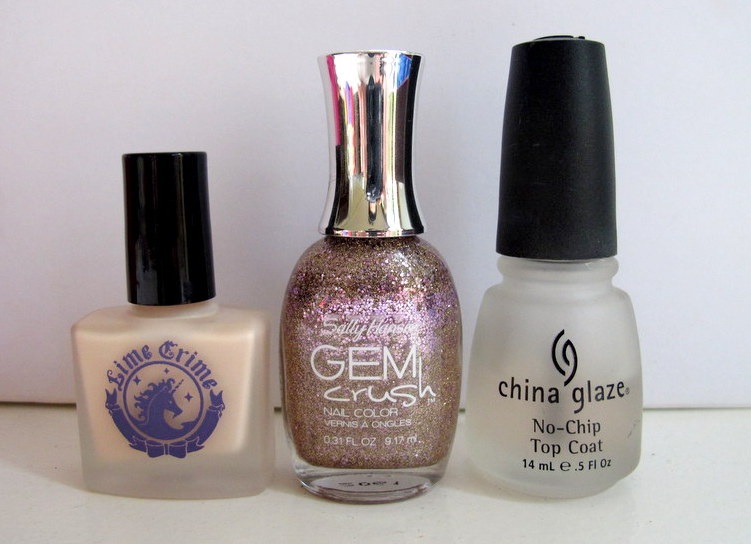
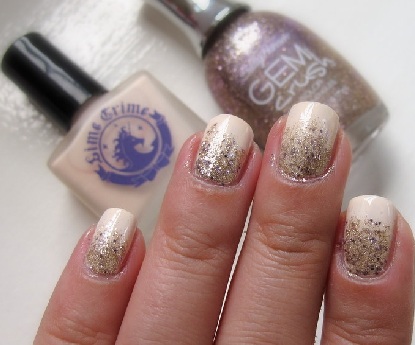
Products used – Lime Crime “Milky Way”, Sally Hansen “Big Money”, China Glaze top coat
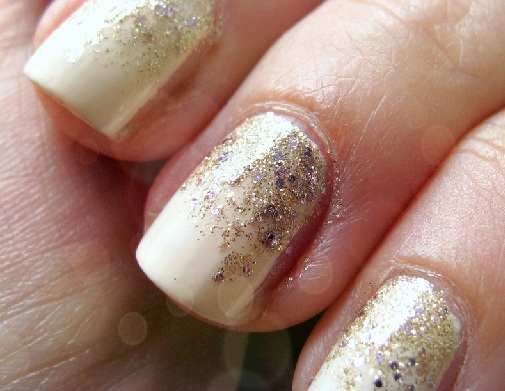
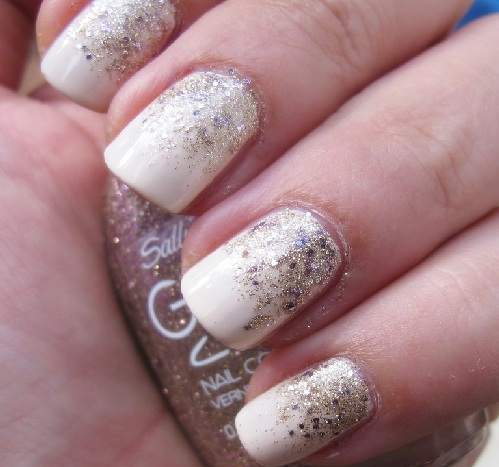
Here are some pictures of the finished look in various lighting conditions. I’m really loving this style of nail art as it’s not too over the top. Using complementary colours of cream base colour and golden glitter the overall look is festive without screaming for attention.
Outdoors in shade
Indoors
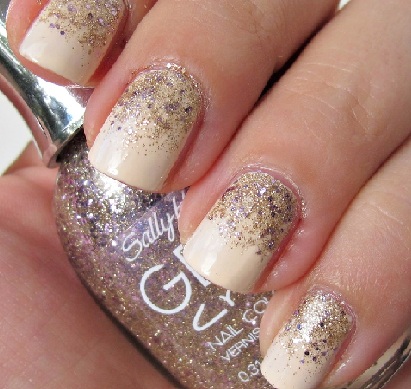
Outdoors, in sunlight
Do you like this nail look?
Are you a fan of glitter polishes?

Related posts
 Tri Color Cliffs Nail Art Tutorial
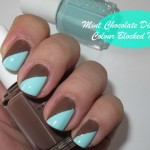 Mint chocolate nails – NOTD Tutorial
 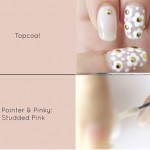 Pastel Daisies Nail Art Tutorial
 DIY your own nailpolish with eyeshadow – DIY beauty
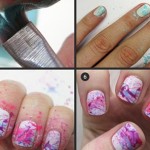 Splatter Nail Art Tutorial
 Bow Nail Art Tutorial
 Monochrome Polka Dots Nail Art Tutorial
 Galaxy Nails – Nail Art Tutorial
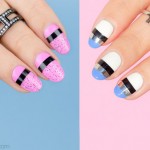 Important Tips And Hacks To Do Nail Art At Home
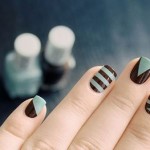 Stripes and Lines Nail Art Tutorial