Stripes and Lines Nail Art Tutorial
- Category: Nails
- Reply to post
These fun geometric patterns add a little something to your nails and are super easy to do. You need a little patience for this one, but the outcome is worth it!

Stripes and Lines Nail Art Tutorial
What You Will Need
- Pastel blue nail polish
- Brown nail polish
- Tape
How To Apply?
- Start with the pastel blue as your base.
- Once it is fully dry, you can begin the placement of your tape.
- On the pinky, place it diagonally.
- Cut up thin stripes for the ring finger.
- Create a ‘V’ shape from the tape for the middle finger.
- Create very sharp angled triangles with the tape and place them on the index finger as shown.
- Similarly, create a design for the thumb finger.
- Now, paint over the tape stencils you just created with brown nail polish.
- Wait for a minute or so for the nail polish to dry a little and then carefully remove the tape.
- Voila! You have yourself a fun manicure!

Related posts
 Pastel Daisies Nail Art Tutorial
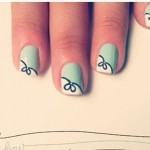 Bow Nail Art Tutorial
 Galaxy Nails – Nail Art Tutorial
 Monochrome Polka Dots Nail Art Tutorial
 Tri Color Cliffs Nail Art Tutorial
 Splatter Nail Art Tutorial
 Mint chocolate nails – NOTD Tutorial
  Important Tips And Hacks To Do Nail Art At Home
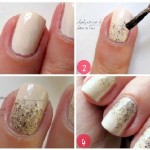 Gradient glitter nails in 4 easy steps
 Super quick earring revamp – DIY beauty