Pastel Daisies Nail Art Tutorial
- Category: Nails
- Reply to post
Ready to step up your nail art game? This honestly looks so pretty, I’m tempted to try this one out on my nails! I’m weak for anything pastel so this one is straight up my alley as far as nail arts are concerned.
Pastel Daisies Nail Art Tutorial
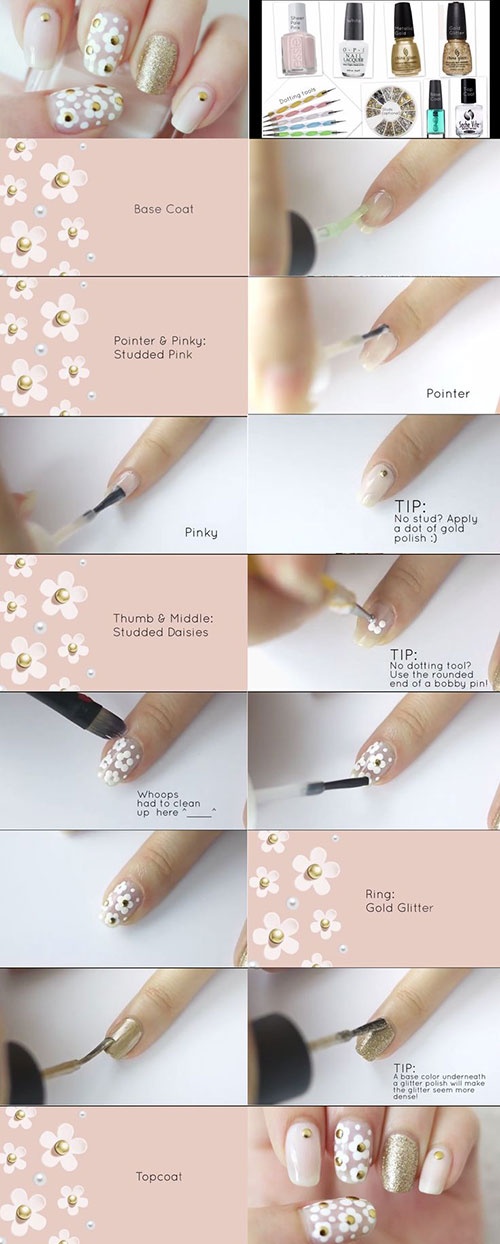
What You Will Need
- Base Coat
- Pastel pink nail polish
- White nail polish
- Gold studs, bindis, or gold polish.
- Gold glitter nail polish
- Dotting tool or a bobby pin
How To Apply?
- Apply a base coat.
- Apply the pastel pink polish to all your nails except the ring finger.
- Place a gold stud near the cuticle of the index and pinky fingernails. Do this while your polish is still wet. This helps it to stick on. In case you do not have any studs or bindis, you can use gold polish.
- Now moving onto the middle and thumb. These two nails will be clad in daisies. Use a dotting tool to create 5 dots in a circle so that it looks like a daisy. If you don’t have a dotting tool, you can use the end of a dotting tool.
- Place the gold stud or gold nail polish at the center of the daisies.
- Now all that’s left is the ring finger. Apply the gold nail polish as the base, and the glitter polish over that. This gives it a more intense look.
- Seal everything with a top coat, and there you go!

Related posts
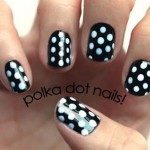 Monochrome Polka Dots Nail Art Tutorial
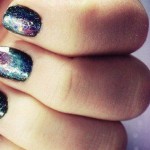 Galaxy Nails – Nail Art Tutorial
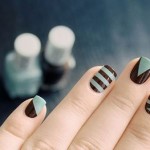 Stripes and Lines Nail Art Tutorial
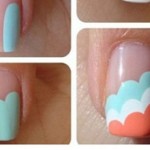 Tri Color Cliffs Nail Art Tutorial
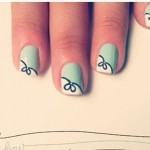 Bow Nail Art Tutorial
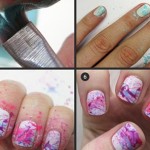 Splatter Nail Art Tutorial
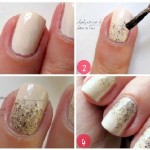 Gradient glitter nails in 4 easy steps
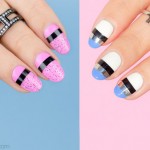 Important Tips And Hacks To Do Nail Art At Home
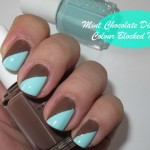 Mint chocolate nails – NOTD Tutorial
 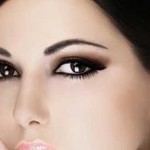 Eye Shadow Colors for Brown Eyes Black Hair