DIY bead necklace in 5 easy steps
- Category: DIY beauty
- Reply to post
DIY bead necklace in 5 easy steps By Lilit
Via: Makeup and Macaroons

You’ll need….
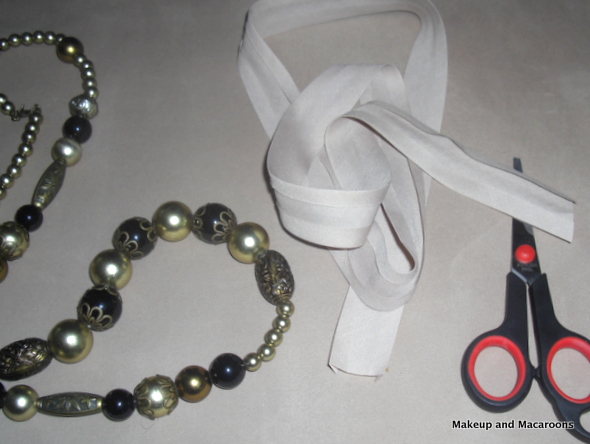
- Beads – I used some old bead necklace which I bought from Equip for around $3 on sale and never wore because it just didn’t sit right. How many and what colour beads you use is up to you.
- Ribbon or sheer fabric cut into 4cm long strip about 1 meter long. I used a bias cut ribbon from the fabric shop, which was $0.60 a meter. The colour is up to you.
- Scissors
- Bead Pusher or a stick, basically something you can use to push the fabric through the tiny hole in the bead. I used a hair pin.
How to….
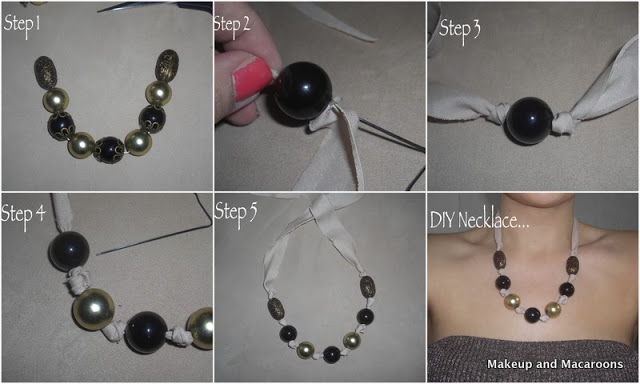
Step 1: Lay down the beads in the style that you want (you may notice that in the end I used less beads than I originally lay down. That’s because as I started putting them on the ribbon with with a knot in between, the necklace became too long so I ended up using less beads.
Step 2: Starting from the middle bead, use the pin (or bead pusher) to push the ribbon through the bead. This may cause the ribbon to fray at the edges, but that’s fine! It gives it character.
Step 3: Make a knot at each side of the bead
Step 4: Repeat with the rest of the beads working from center out, and making a knot in between the beads.
Step 5: Done! Wear it, love it, marvel at how easy it was to create and make a mental list of other fabrics and beads that you’d like to use for the next DIY venture.
To wear it, just tie it in a bow behind your neck and voila!

Related posts
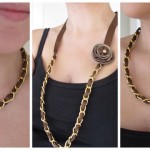 Designer inspired ribbon and chain necklace in 4 easy steps
  Revamp an old necklace with nail polish
 Refashion a short necklace – DIY beauty
 Super quick earring revamp – DIY beauty
 DIY roundup #5, jewellery made from food!
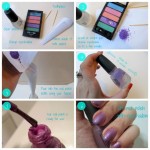 DIY your own nailpolish with eyeshadow – DIY beauty
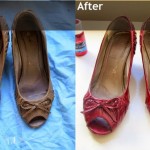 Change the colour of your shoes on the cheap with some leather dye
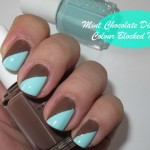 Mint chocolate nails – NOTD Tutorial
 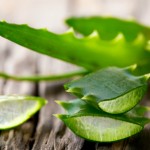 The 5 Best and Simplest Ways to Use Aloe Vera as a Natural Skin Remedy
 The 5 Best Essential Oils for Glowing Skin