How To Get Hot Ombre Lips
- Category: Makeup, Makeup Tutorials, Tips & Tutorials
- Reply to post
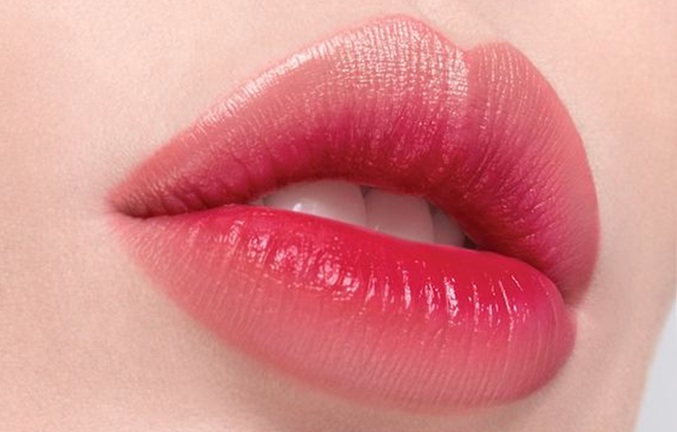
Ombre means having two different colors that are monochromatic. Ombre style has been popular in hair coloring, nail art and yes lips too!
Ombre lips can look awesome, but if not done correctly they can make you look very tacky! The secret to doing ombre lips is to first try it out with your regular lip colors. Play around with different hues that merge well together and once you are satisfied with the results only then step out into the open
For Ombre Lips
Following are the important steps included in Ombre lip makeup tutorial.
- Color Selection
The first step is to understand which two colors can look good together to create the effect.
To decide the colors, pick one color that is your main lip color. Then choose a color that is either lighter than your base color or darker than your base color. But make sure it is similar in hue. The best look for ombre lips is achieved if you use a red lipstick and pair it up with the darkest brown you have. But for starters you should opt for a pink or a dark brown with your red. If you are opting for a pink as your base then use an orange lipstick or a brown one for the ombre effect. The secret is to use two colors that can be used to create a gradient of color on your lips.
- Technique
The next step is choosing your technique. There are various ways in which you can create the color gradient of a DIY ombre lips. Having one lip in a darker shade than the other, using the gradient from outer most edge to the inner most part of the lips, or even going horizontally across such that one corner of your mouth is lighter in color than the other corner.
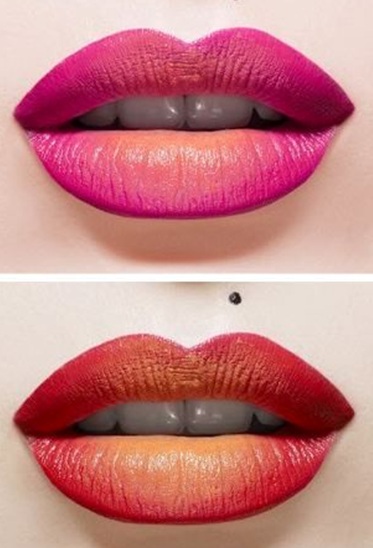
- Two Tone Effect
The simplest form of ombre lips is to use the lighter shade on one lip and the darker shade on the other lip and then blending them in at inner side of the lips.
- Outer Devil
The next technique of using the colors is to line your lips with a lipliner that is one shade darker than you’re base lipstick color. Keep the line thicker on the corners and taper off as you move to the curve of the lips. Then apply the base lipstick to the lips leaving out the inner most part of the lips. In the inner most part, use the lighter lipstick and top off with clear gloss to even it all out.
- Inner Devil
This technique is a simple reversal of the previous one. Reverse the use of colors such that inner most part of the lip is darker and the colors get lighter as you move out. This technique looks best if the difference in gradient is not stark. The best is with a pink inner most color and a neutral outermost color.
How To Get Hot Ombre Lips
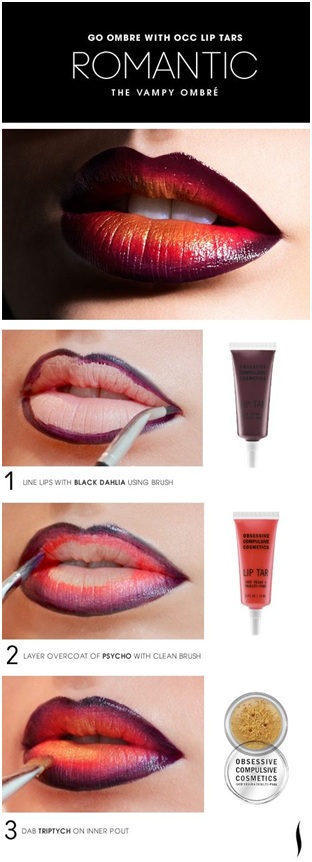
- Oomph Effect
I call this technique the oomph effect because if you do this using a bright red and deep brown or black, it gives you absolutely sexy looking red ombre lips. The technique involves using a black/brown lipstick or liner. You need to trace a line of black/brown on the inner corners of your mouth and line the lower lip with this as well. Now trace over this line of black or brown with a deep colored lipstick (preferably a wine shade). Finally, apply a red lipstick all over your lips (you can skip the wine colored lipstick if you are using a deep shade of red).
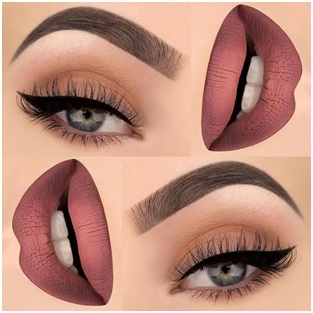
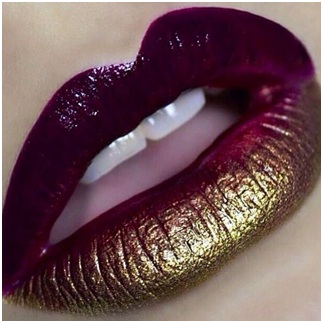
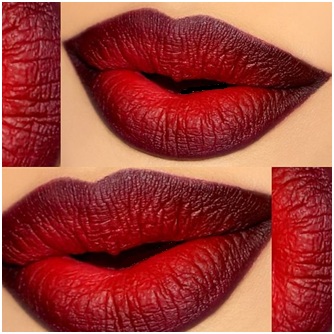
- Other Gradients
Many other variants of the basic techniques exist. You can even play with more than two colors once you are comfortable with the basic concept. Here are some more pictures of beautifully done gradients to create the perfect ombre lips.

Are you getting more impressed with these Ombre Lips? Then, try the following ombre lip tutorial step by step and get set go with the latest ombre lip makeup look.
Step by Step Ombre Lips
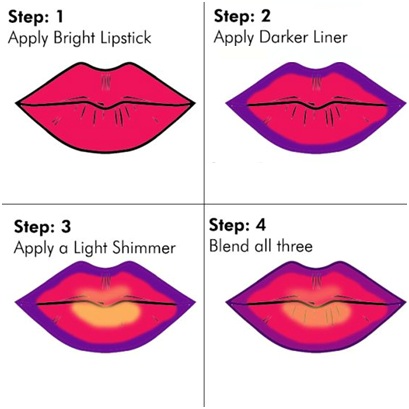
- Apply concealer over your lips to hide the natural colour.
- Use the dark lip liner to create a line around the edge of your lips as you would normally. Add more of this dark colour lip liner to the corner of your lips bringing this dark colour in towards the middle, but do not colour all of your lips with this shade. You can also extend this line and thicken it at the top and bottom of your lip if you wish.
- Apply your pale colour to the middle of your lips that do not have the darker lip liner on them. Press your lips together once or twice but do not smear the colours together by rubbing your lips side to side or back and forth. Simply press your lips together and pull apart again in one smooth motion.
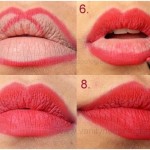
- At this stage you can use your lip brush or cotton bud to blend the edges of your colours together to create a fading effect.
Easy and fresh, just in a minute or two, you have an extraordinary lip makeup for a perfect finish! You might change the colors to red or pink if you feel they will be closer to your taste and style!

Related posts
 How to Apply Red Lipstick Perfectly
 How to Apply Eye Makeup
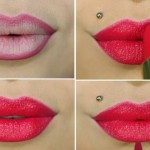 Top 10 Simple & Easy lipstick makeup tutorial
 How to Wear Neon Blue Eyeshdow
 7 Steps Guide On How To Apply Lipstick Properly
 10 Must Know Makeup Secrets That Makeup Professionals Use
 Makeup for Blue Eyes and Blonde Hair
 How To Apply Liquid Eyeliner
 How to Get Dramatic Eyes in Five Fast Steps
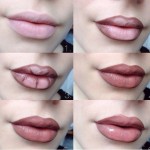 Lip Contouring: The Makeup Technique That Will Give You Bigger Lips