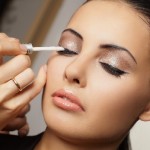
How to Apply Fake Eyelashes Fast & Easy
- Category: Makeup, Makeup Tutorials, Tips & Tutorials
- Reply to post
Do you want to learn how to apply fake eyelashes quickly and easily? It could be a challenge at first but once you got the right steps down, a little practice will make you a falsies pro!
How to Apply Fake Eyelashes Without A Fuzz
Not everyone is born with long and thick lashes. But hey, there’s no shame in faking it ladies! Falsies or fake eyelashes are one of my most favorite beauty products because it makes my eyes pop and instantly give my eyes drama. If you’re wondering how I mastered applying fake eyelashes, then I’ll be honest with you. It did take me a couple of tries to really get the hang of it, but don’t you worry…I got your back! Check out these step-by-step guide on how to apply fake eyelashes in the easiest way possible!
What You’ll Need:
- Scrumptious Creme False Lashes 107
- Tweezers
- Lash glue
- Cotton buds
- Small scissors
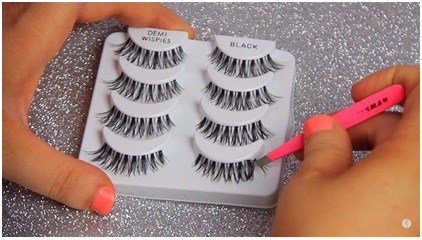
Step 1: Lift the eyelash bands from their packaging.
Before I start with the first step, I want to let you know that you can use a different brand for false eyelashes. However, I highly recommend the Creme Lashes 107 from Scrumptious. These babies are made from 100% Remy hair. It’s super lightweight, feels natural, looks natural, and affordable too! This pair of falsies never fails to make my eyes look gorgeous!
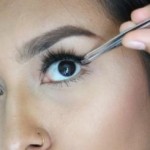
Back to our tutorial now. The first step is to open your fake eyelashes package. Using your tweezers, slowly and gently remove a pair of fake eyelashes from its pack. Be patient! You don’t want to end up with broken or poorly bent lashes. After you pull one out, you can leave it atop its packaging.
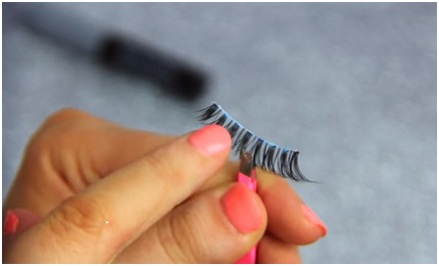
Measure the eyelashes by putting them closely on your lashline. The falsies should be attached where your lashes start to be visible (not all the way to the tear ducts). Using the scissors, cut where it should start and end.
Step 2: Apply the lash glue.
Fake eyelashes have a sticky feel on the edges. But even the strongest lashes have the tendency to fall off! I remember the time when the bride, who hired my services, experienced an embarrassing moment. Just when she’s ready to kiss her groom, the eyelashes fell off! I was so ashamed. It’s a good thing only a few noticed, and they chose to keep quiet to avoid ruining the bride’s moment completely.
Thus, I highly recommend you use an eyelash glue. In this tutorial, Revlon was used, and I suggest the same brand. The tutorial has two variations of this glue: clear and black (or dark). You’ll learn the difference of the two later.
These two types of eyelash glue, however, work the same way. Using the applicator, coat the edges of the fake eyelashes with the glue. If you find the applicator difficult to use, or it gets lost, you can use a Q-tip instead.
Step 3: Dry the glue.
Don’t attach the lashes immediately! Wait for a few seconds. If you’re using the clear glue, it will turn blue. That’s your cue the lashes are ready to be attached. Don’t worry about the color. It fades quickly once the lashes are attached. You can also try touching it to see if the glue is ready. If it feels tacky, you can attach the lashes.
As an alternative, use the black eyelash glue
Do you know you can also learn how to apply fake eyelashes using a dark eyelash glue? The process is incredibly simple and exactly the same as when you’re using the clear glue. The biggest difference? You won’t see a blue line. To ensure the glue has settled well, wait for about 10 seconds before attaching the eyelashes.
Step 4: Apply your mascara.
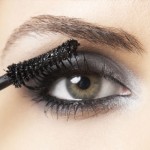
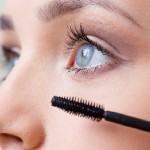
Here’s a question. When should you apply the mascara: before or after you’ve attached the fake eyelashes? It all depends on your preference. Personally, I want to place the mascara before I attach the fake lashes. It’s much harder to apply the mascara once the false lashes are already attached. Plus, I really don’t like removing mascara off my falsies. By the way, if you want to make your own mascara, I have a good recipe for you!
Step 5: Attach the lashes.
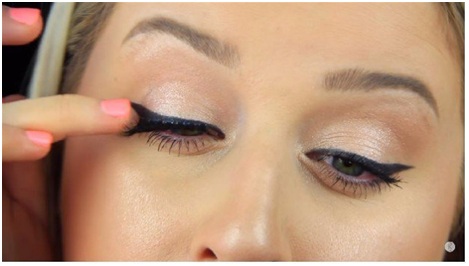
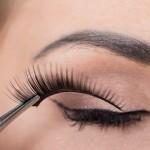
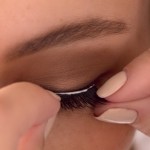
This may be the trickiest part in applying the fake eyelashes, but I know you’ll get the hang of it quickly. To attach the lashes, use the tweezers to pick them up and lay them flat between the eyes and near the lash line. Do not place them on top of your real eyelashes! You’ll end up plucking your own lashes once you remove the fake ones.
After laying them flat, adjust the placement of the lashes using your tweezers before you begin to push them toward the eyelash line and squeeze them for a tighter hold.
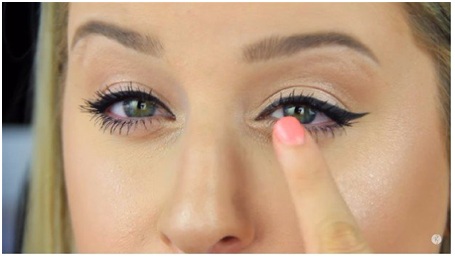
Step 6: Pat the eyelashes.
Do the finishing touches by patting the eyelashes. You can also brush the eyelashes to improve or help them retai
