A Step by Step Tutorial – How to Fill in Your Eyebrows
- Category: Makeup, Makeup Tutorials, Tips & Tutorials
- Reply to post
Professional tips to fill in your eyebrows perfectly
The shape and size of eyebrows decide your look. But sometimes, instead of trying our best to shape and fill them perfectly, we don’t get that flawless look. Don’t get despair because we have listed in this article the best ways to fill in your eyebrows perfectly. Let’s start with deciding the shape of eyebrows first, according to your face cut.
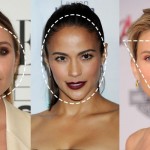
The Brow Shape for your Face
- For a Round Face: A higher arch looks perfect on a round face because this will make your face look a little longer.
- For a Square Face: An angled arch tends to balance out the shape of your face. Keep it little thicker & heavier.
- For a Long Face: Keep your arch shape straight and thin at the outer edge, this will make your face appear shorter.
- For an Oval Face: An oval face shape looks balanced and ideal. Keep your arch shape a little angular.
Step by step tutorial to fill in eyebrows
Step 1: How to determine starting & end point:
- To understand the starting point of your eye brows, simply hold pencil brush vertically with one end touching your nostril and other touching your eyebrows and mark a spot there. This will be the starting point of your eyebrow.
- Similarly, to find the end point of your eye brows, hold your pencil brush diagonally with one end touching nostril and other going outside the crease area. Please see picture for more clarification.
- Finally, to find the natural arch of your eyebrow, hold your pencil brush diagonally, starting from your nostril and going outside to the iris.
- Mark these three spots; these are your start, end and natural arch points.
Step 2: Comb & trim your eyebrow hair:
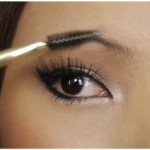
- Use eyebrow comb or mascara wand to brush your hair in upward/downward direction.
- Tweeze or trim those hairs which are longer and fall below and above your brow line.
Step 3: Outline the shape of your eye brow:
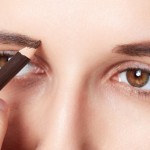
- Use a brow pencil to draw the outline shape of your eyebrow.
- Remember, use light strokes to draw the outline instead of pressing it too hard.
- When choosing a color of brow pencil/powder, always go for two shades lighter than your hair color. For darker color hair choose dark brown and for blonde shade go for light brown. You can always try different application of colors to find a best match.
Step 4: Start filling your eyebrows with Pencil & Powder:
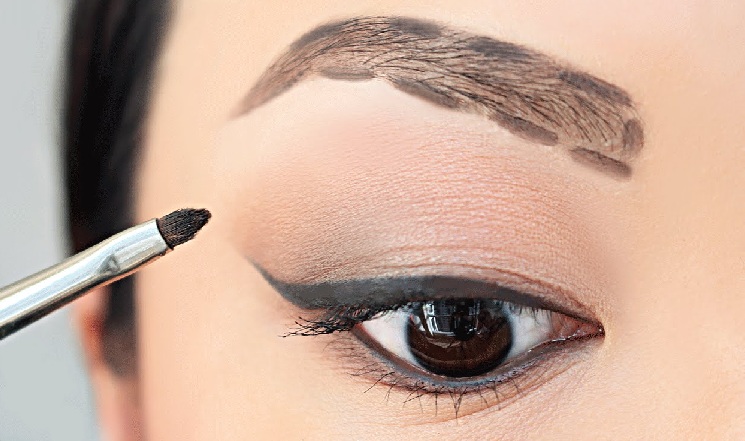
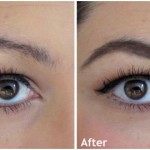
- To make the process easy, divide your brow area into two parts from center. Now, use brow pencil to fill in first part starting from inner edge to arch area and then second part from arch area to outer edge. Always apply short gentle strokes in one direction of your hair growth. Don’t go beyond the outline shape of your eyebrows as this will give you a fake look.
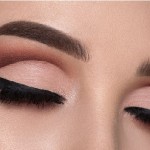
- To define the shape of your eyebrows even more, use angled brush and powder to fill in your eyebrows. Start with lighter shade first, if required apply a darker color to get a more dramatic look. Concentrate more on the tail area of your eyebrow instead of putting powder in the center.
- You can also use spoolie brush to even out the powder and to add volume to your lashes.
Some useful tips to keep in mind
- For first time user, it is always advisable to get the help of a professional to define the shape of your eyebrows instead of trying it yourself.
- To get a more younger look, always keep your your lashes a bit thicker.
- Never use black color to fill in your eyebrows even if you have black hair, because black gives you a harsher look. You can try dark brown color instead.
- Always buy a brow pencil or powder with bit of red tint in them. This will give your eyebrows a more natural look.
- Use a matte finish powder to define the shape of your eyebrows.
Use a bit of hair gel or hair spray to keep your brow hair in place for a longer duration.
